The Complete Guide to Connecting Your Procore Data
Step-by-step walkthrough for integrating Procore with DatumOS and unlocking powerful cross-platform insights.
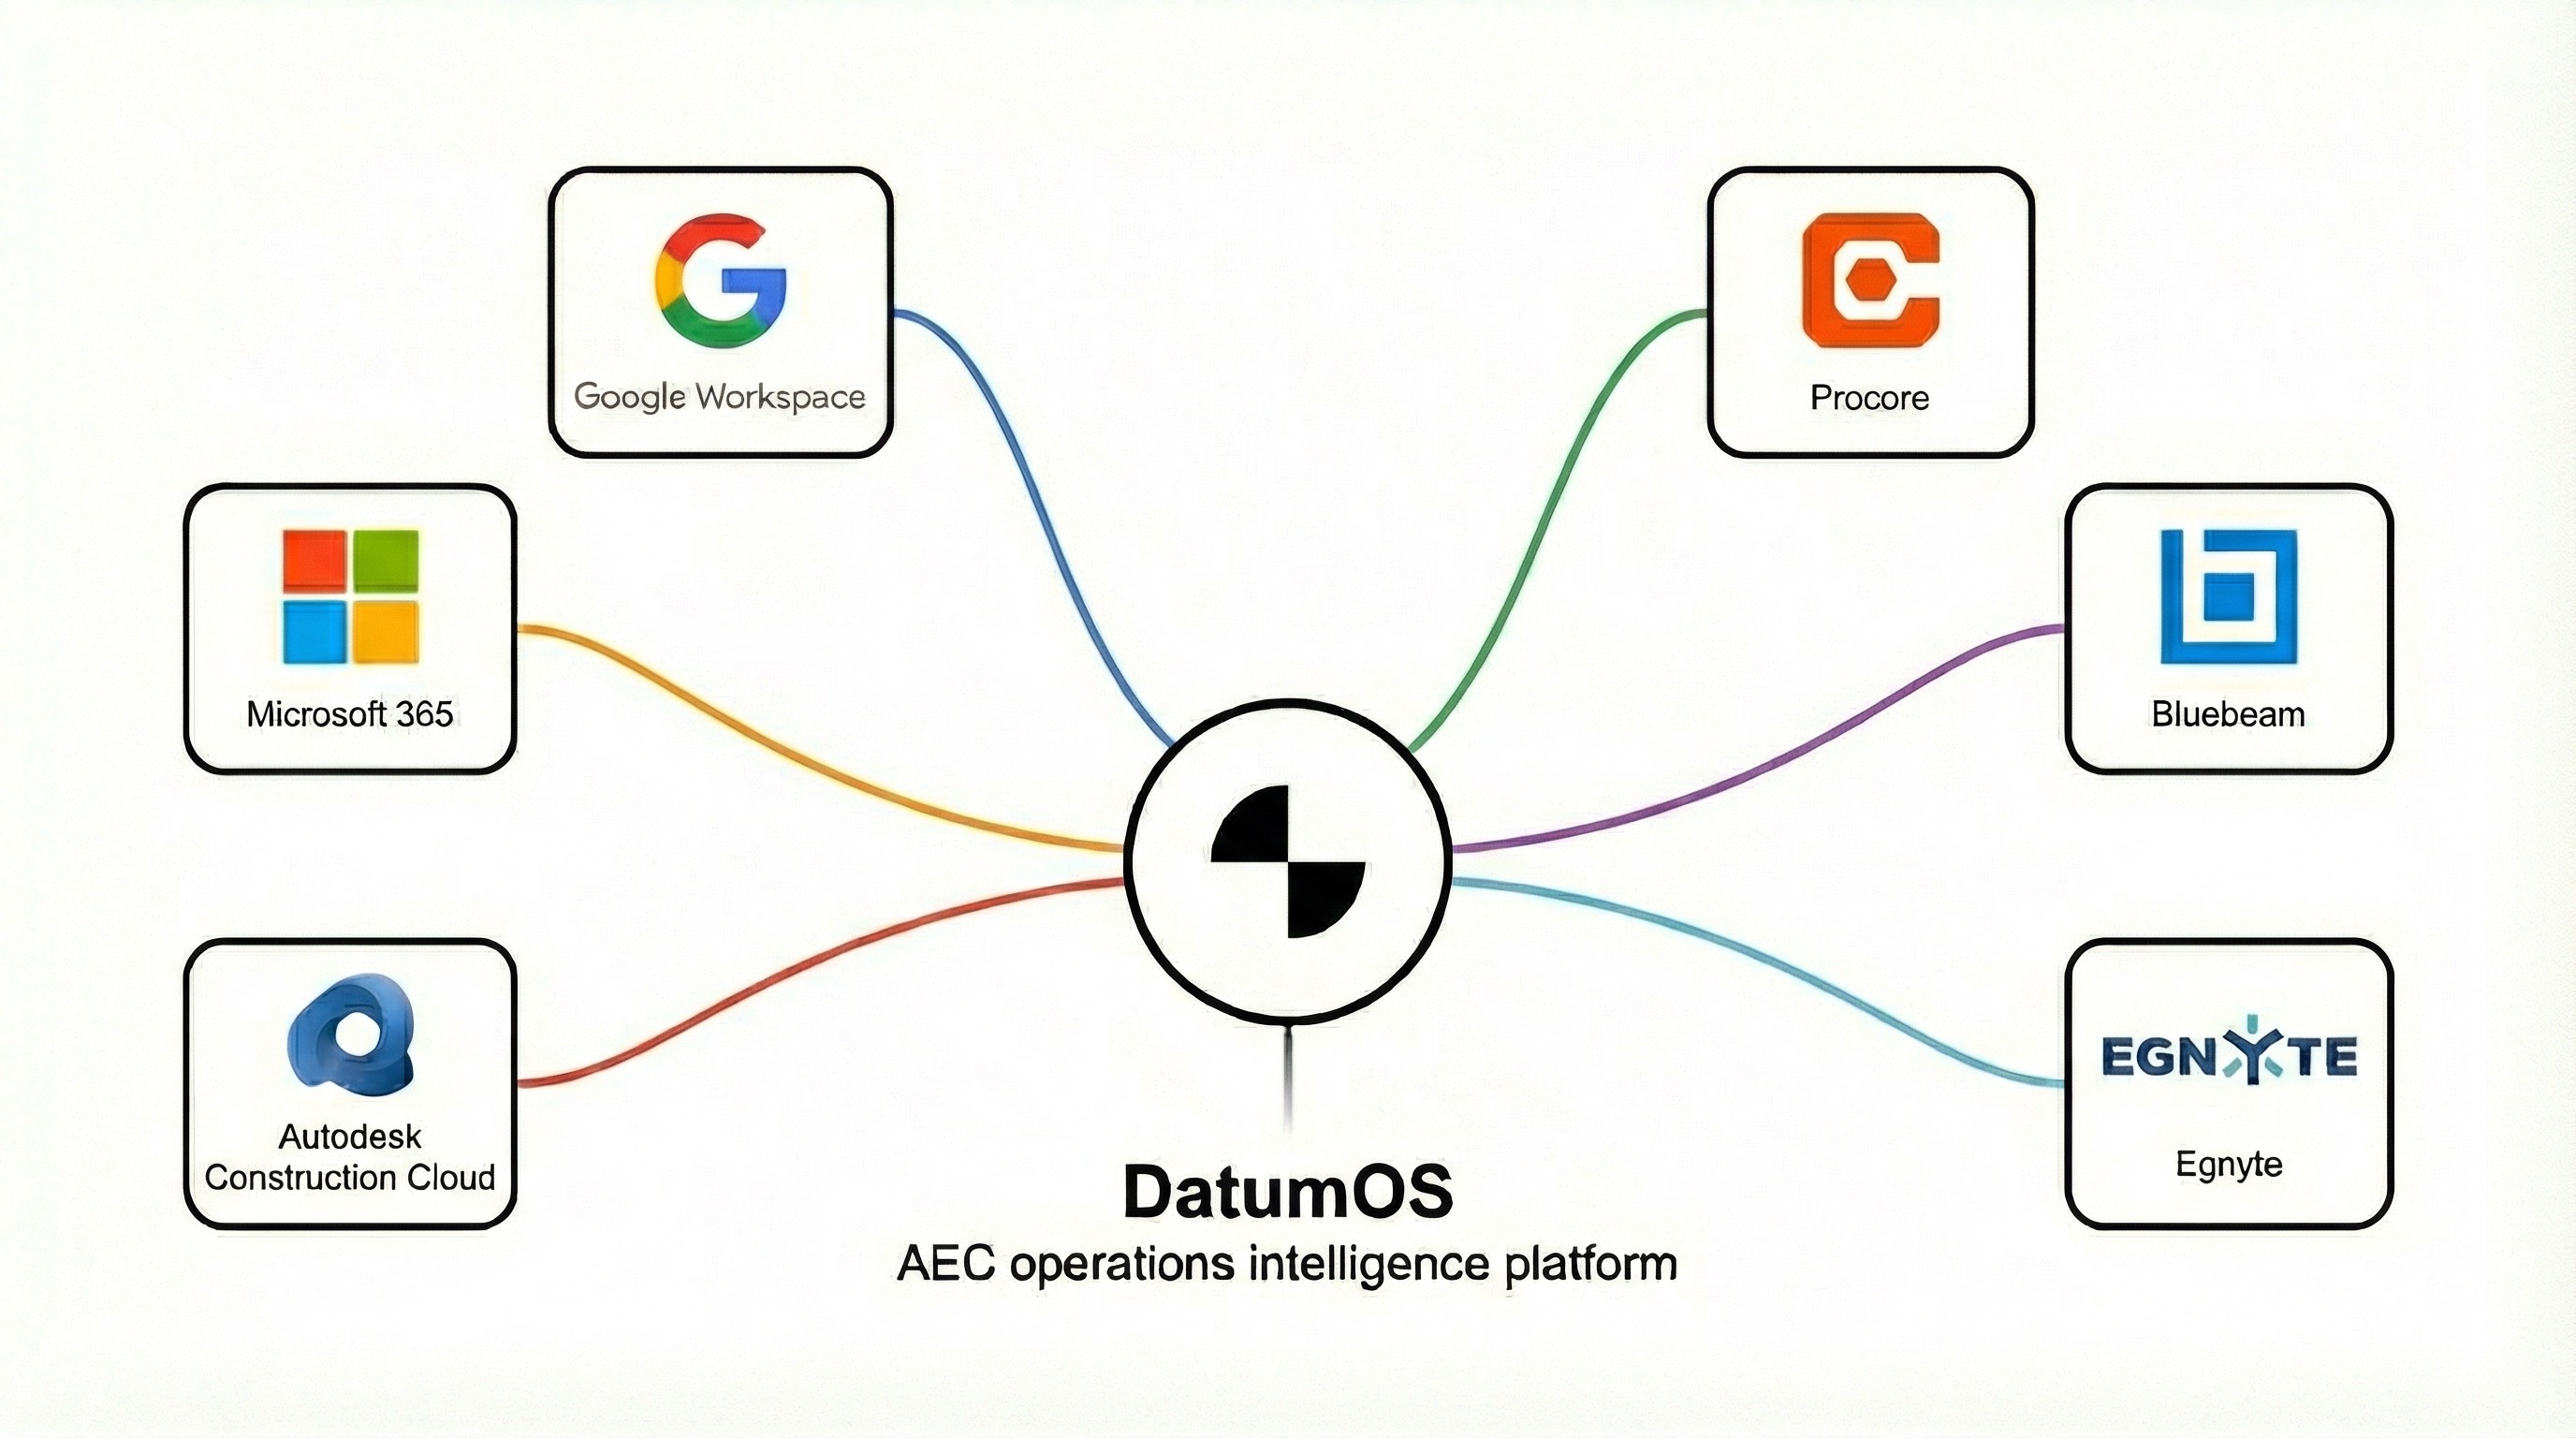
Procore is one of the most widely-used construction management platforms, and connecting it to DatumOS unlocks powerful cross-platform insights. This guide walks you through the integration process.
Prerequisites
Before you begin, ensure you have:
- Admin access to your Procore account
- A DatumOS workspace with Connector access
- The projects you want to sync identified
Step 1: Enable the Procore Connector
Navigate to Settings > Connectors in your DatumOS dashboard and locate the Procore card. Click Connect to begin the OAuth flow.
Step 2: Authenticate with Procore
You'll be redirected to Procore to authorize the connection. Sign in with your Procore credentials and grant DatumOS access to your project data.
Step 3: Select Projects to Sync
Once authenticated, you'll see a list of available Procore projects. Select the ones you want to include in your DatumOS workspace.
Step 4: Configure Sync Settings
Choose your sync preferences:
- Real-time sync - Changes appear within minutes
- Daily sync - Batch updates once per day
- Data types - Select which Procore modules to include
What Gets Synced
The Procore connector brings in:
- RFIs and submittals
- Daily logs and observations
- Punch lists and issues
- Project documents
- Change orders
Troubleshooting Common Issues
Connection Timeout: Ensure your Procore session is active and try reconnecting.
Missing Projects: Check that you have the correct permissions in Procore for the projects you want to sync.
Need help with your Procore integration? Contact our support team for assistance.